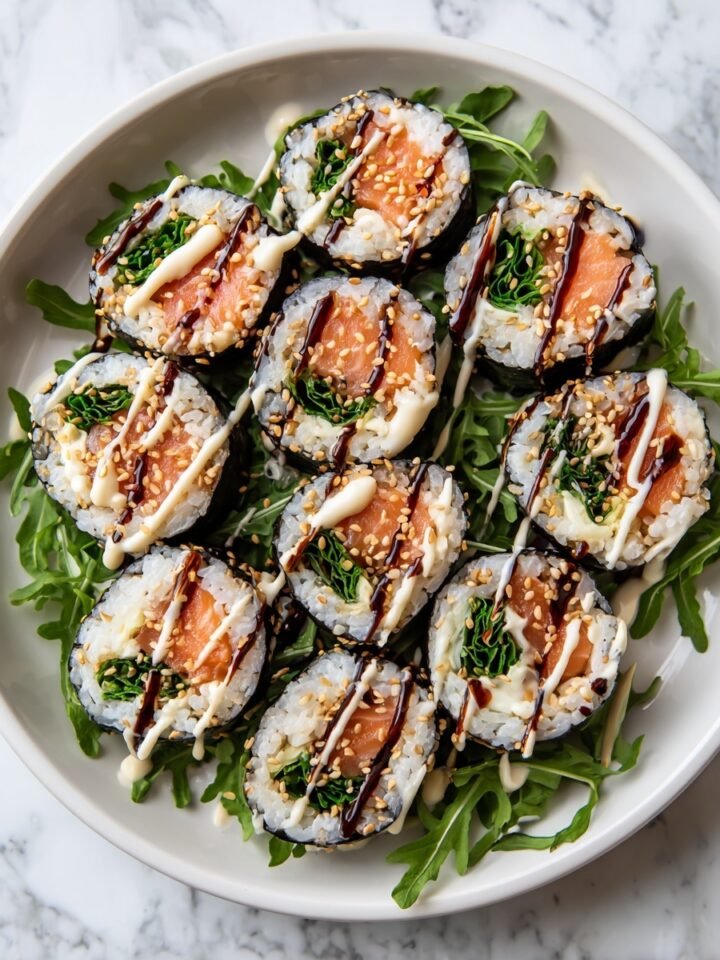
There’s something warmly irresistible about a salad that’s bright, vibrant, and just a little unexpected. This Salad with Orange Vinaigrette Recipe is one of those dishes you’ll want to whip up when you crave something fresh yet comforting — perfect for sunny lunches or light dinners that leave you satisfied without weighing you down. The zing of citrus and a hint of sweetness in the dressing transform everyday greens into a golden, zesty treat that sings with every bite.

Jump to:
- Meet the Magic Behind This Dish
- Why You’ll Love This
- The Essentials: Ingredients That Do the Work
- Step-by-Step: Bringing Salad with Orange Vinaigrette Recipe to Life
- Pro Moves to Elevate It
- Switch It Up: Creative Variations
- Storage & Reheating Tips
- Serving Inspiration
- Frequently Asked Questions
- Notes & Handy Tools
- Full Recipe
Meet the Magic Behind This Dish
I first created this Salad with Orange Vinaigrette Recipe on a lazy spring afternoon when I had an abundance of fresh oranges ready to be enjoyed. What makes it so special is the combination of sweet, tangy, and slightly toasty flavors all mellowing together in one dressing that drapes over crisp greens and crunchy toppings. You’ll immediately notice that inviting aroma of fresh orange zest, which sets the tone for a salad that feels like sunshine on a plate.
Why You’ll Love This
This salad is a little celebration of texture and flavor—a delightful blend that’s as fresh as it is indulgent. Whether you’re new to making your own dressings or a seasoned salad lover, this recipe invites you to enjoy layers of brightness and creaminess that come together effortlessly.
- Texture That Melts: Creamy orange vinaigrette clings to crunchy greens and nuts for a satisfying mouthfeel.
- Flavor Layers You’ll Crave: Sweet, tangy orange juice with subtle spice and a hint of savory depth.
- Quick to Master: Just a few minutes whipping up the dressing and chopping fresh ingredients.
- Perfect Anytime Meal: Beautiful enough for guests yet simple for a wholesome weekday lunch.
The Essentials: Ingredients That Do the Work

Choosing vibrant, fresh ingredients will elevate your Salad with Orange Vinaigrette Recipe every single time. I always recommend ripe, juicy oranges and crisp greens because they’re the backbone of this dish’s freshness. Pick pecans that are toasty and fragrant for that perfect crunch, and a gentle drizzle of good-quality olive oil brings everything beautifully together.
- Fresh Oranges: Look for ones heavy for their size — that means juicier and more flavorful for your vinaigrette.
- Mixed Salad Greens: A blend like baby spinach, arugula, and romaine adds complexity and varying textures to the salad.
Quick Note: Precise amounts and timing live in the recipe card at the end.
Step-by-Step: Bringing Salad with Orange Vinaigrette Recipe to Life
Step 1 — Gather, Chop, and Prep
Start by assembling your ingredients on the counter—you’ll want a sharp knife and a sturdy cutting board. Slice and peel your oranges if needed, leaving juicy segments for the salad and fresh juice for the dressing. Wash and spin dry your greens until they’re crisp and ready to soak up that luscious vinaigrette. Taking this little moment to prep neatly will make assembling everything smooth and satisfying.
Step 2 — Heat, Stir, and Build Flavor
While this salad doesn’t require cooking, the homemade orange vinaigrette is where the magic happens. Whisk together fresh orange juice, a splash of olive oil, a pinch of salt, a touch of honey or maple syrup, and a hint of Dijon mustard. If you like a little spice, add a dash of freshly cracked black pepper. As you whisk, you’ll see the dressing emulsify into a creamy golden shine — that’s the moment you know it’s ready to brighten your salad.
Step 3 — Finish and Taste-Test
Dress your salad gently but thoroughly, tossing so each leaf gets that juicy orange kiss. Taste as you go — sometimes a little extra acidity or sweetness nudges the flavor perfectly. When everything feels balanced with pops of crunch from nuts or seeds and the vivid orange brightness, you know you’ve arrived. I love grabbing a fork at this stage and savoring that first crisp, zesty bite.
Pro Moves to Elevate It
I’ve found the secret to rocking this Salad with Orange Vinaigrette Recipe lies in not rushing the dressing and using the freshest ingredients. When you whisk your vinaigrette by hand until glossy, and choose greens that have a bit of bite, the salad takes on a whole new level of excitement.
- Heat Wisdom: Use room-temperature orange juice to help the dressing meld evenly without separating.
- Timing Trick: Dress the salad right before serving to keep the greens crisp.
- Make-Ahead Strategy: Prepare the vinaigrette a day ahead to let flavors deepen — just whisk again before use.
- Common Slip-Up: Over-dressing the salad can make it soggy; start with less and add more if needed.
Switch It Up: Creative Variations
This Salad with Orange Vinaigrette Recipe is wonderfully versatile. Feel free to mix and match your favorite nuts or toss in roasted vegetables for that toasty layer. A sprinkle of creamy goat cheese or feta adds a tangy richness that balances the citrus perfectly. Keep experimenting with whatever’s fresh — each twist breathes new life into this bright salad.
When You’re Feeling Bold
If you want to dial in some punch, add chili flakes to the vinaigrette for subtle heat or swap pecans for toasted almonds to change texture. Toss in grilled chicken or seared shrimp for a protein boost that turns this salad into a hearty meal. I sometimes drizzle on a bit of balsamic reduction for sweetness and depth — trust me, it’s a game changer.
Storage & Reheating Tips
This salad is best enjoyed fresh, but if you need to store leftovers, keep the vinaigrette separate to stop greens from getting soggy. Stored in an airtight container in the fridge, the salad components will stay crisp for up to 2 days. Give the vinaigrette a quick whisk before tossing everything together again. Because it’s served cold, reheating isn’t necessary — just serve and enjoy!
Serving Inspiration

Pair this Salad with Orange Vinaigrette Recipe with a hearty whole grain like quinoa or farro for a filling meal, or serve alongside grilled fish for an elegant dinner. On casual nights, I love it with some warm crusty bread and a glass of crisp white wine. For a party, dress it up with edible flowers or add some toasted seeds for that toasty visual pop.
Frequently Asked Questions
Freshly squeezed orange juice is best for brightness and natural sweetness, but in a pinch, high-quality bottled juice works fine.
Pecans are classic here for their buttery crunch, but walnuts or sliced almonds add lovely variations.
For best texture, store greens and vinaigrette separately and combine just before eating.
Absolutely! Use maple syrup or agave in the vinaigrette instead of honey, and double-check the salad toppings for any animal-derived ingredients.
Notes & Handy Tools
A sharp chef’s knife and a good-quality citrus juicer really speed things up and keep your prep clean. A salad spinner is a must-have for crisp greens — it’s a simple tool that makes a huge difference. A small whisk or fork works best to emulsify your vinaigrette into that creamy, cohesive dressing that coats every bite beautifully.
PrintFull Recipe
Salad with Orange Vinaigrette Recipe

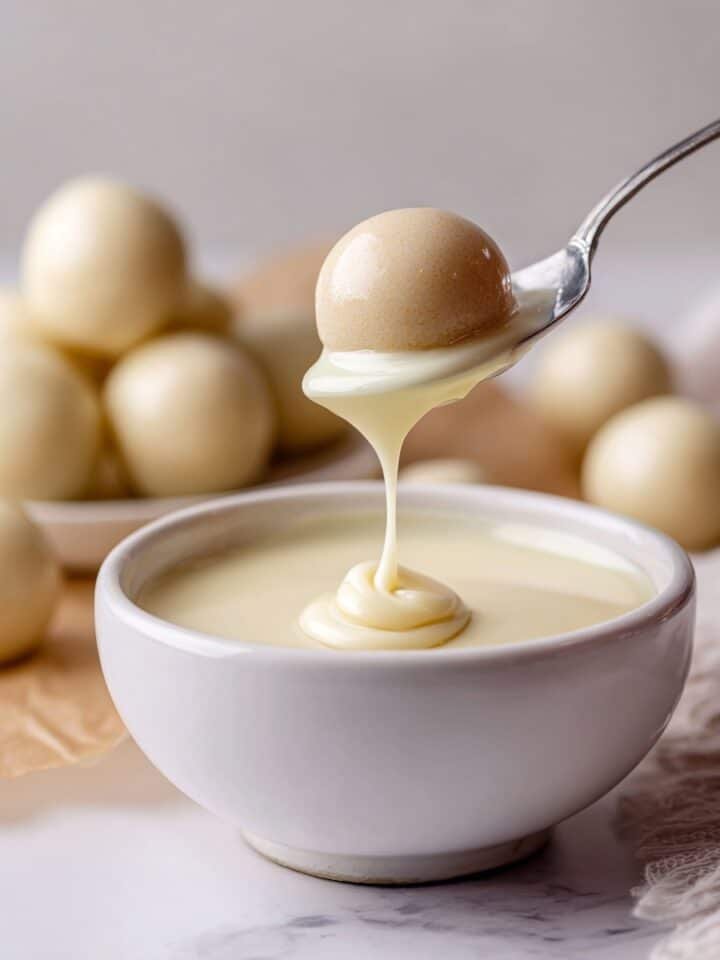
Delicious no-bake pecan pie bites made with pecans, dates, and a touch of coconut sugar, coated in smooth chocolate and topped with a pecan. A perfect bite-sized treat that's easy to prepare and requires no oven.
- Prep Time: 15 minutes
- Cook Time: 0 minutes
- Total Time: 30 minutes
- Yield: 20 servings
- Category: Snack
- Method: No-Cook
- Cuisine: American
- Diet: Vegan
Ingredients
Main Ingredients
- 1 cup pecans
- 1 cup pitted dates, soaked
- 2 tablespoon coconut sugar or monk fruit
- pinch sea salt
- 1 teaspoon vanilla
- 1 teaspoon cinnamon, optional
Chocolate Coating
- 1 ¼ cup chocolate chips
Instructions
- Prepare the dough: Add pecans, soaked dates, coconut sugar or monk fruit, sea salt, vanilla, and cinnamon (if using) to a food processor. Process until a sticky dough forms, scraping down the sides occasionally to ensure even mixing.
- Form the bites: Roll the sticky mixture into bite-sized balls and place them on a lined cookie sheet. Flatten each ball slightly with your palm for better shape and texture.
- Freeze the bites: Place the cookie sheet in the freezer and allow the bites to firm up for about 15 minutes.
- Melt the chocolate: While the bites are freezing, melt the chocolate chips until smooth, using a double boiler or microwave in short intervals.
- Dip the bites: Remove the bites from the freezer. Dip each one individually into the melted chocolate, ensuring it’s coated well, then place back on the cookie sheet.
- Add pecan topping: Immediately place one pecan on top of each chocolate-coated bite for garnish and added crunch.
- Final freeze: Return the cookie sheet to the freezer and let the chocolate harden completely before serving.
Notes
- Soaking the dates softens them, making it easier to form a sticky dough.
- For a sweeter bite, increase coconut sugar or monk fruit to 3 tablespoons.
- If you prefer a nut-free version, substitute pecans with walnuts or omit altogether.
- Use dark chocolate chips for a richer flavor or milk chocolate for a sweeter taste.
- Store finished bites in the freezer or refrigerator to keep the chocolate firm.

Leave a Reply