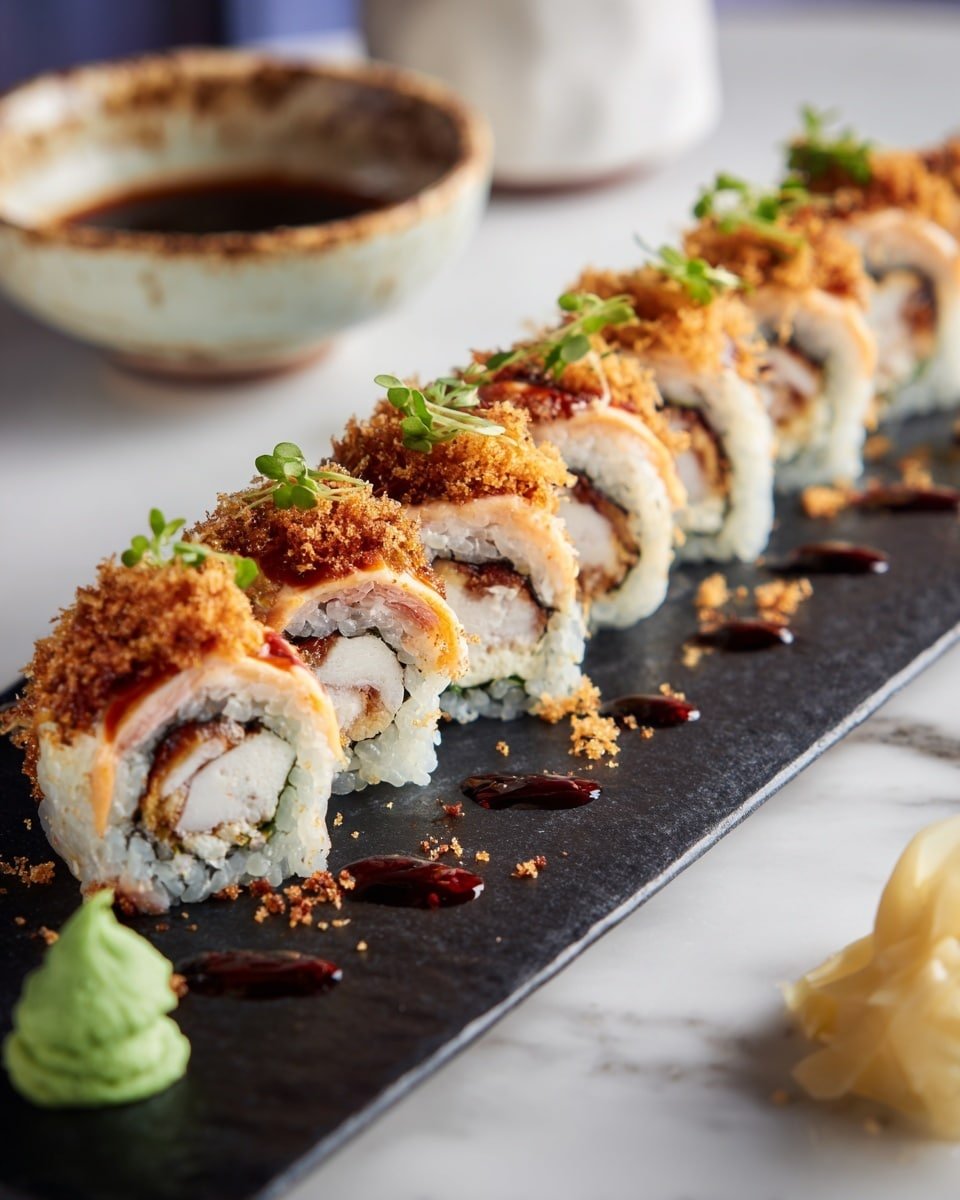
There’s just something so satisfying about biting into a Homemade California Crunch Roll Sushi Recipe — the perfect balance of creamy avocado, tender crab, and that irresistible crunchy topping. Whether you’re hosting a cozy dinner or simply craving a fun kitchen project, this roll brings a bit of sushi bar magic right to your home. I love how approachable it feels, yet it dresses up the table with its toasty, golden crunch and vibrant colors.
Jump to:
- Meet the Magic Behind This Dish
- Why You’ll Love This
- The Essentials: Ingredients That Do the Work
- Step-by-Step: Bringing Homemade California Crunch Roll Sushi Recipe to Life
- Pro Moves to Elevate It
- Switch It Up: Creative Variations
- Storage & Reheating Tips
- Serving Inspiration
- Frequently Asked Questions
- Notes & Handy Tools
- Full Recipe
Meet the Magic Behind This Dish
This Homemade California Crunch Roll Sushi Recipe came about during one of my weekend cooking experiments when I craved sushi but also wanted that extra textural pop. What makes it unique is this delightful layering—not just the creamy avocado and tender, flaky crab, but that toasty, crispy crunch on top that offers an addictive contrast. The moment you take a bite, you'll notice that perfect harmony of soft, smooth, and crunchy all mingling in your mouth.
Why You’ll Love This
I adore sharing this recipe because it transforms everyday ingredients into a restaurant-worthy treat that’s surprisingly easy to assemble. It’s a game changer when it comes to entertaining or just nourishing yourself with something fun and fresh.
- Texture That Melts: The contrast between creamy avocado and crispy panko topping is pure heaven.
- Flavor Layers You’ll Crave: Sweet crab meat, tangy sushi rice, and a spicy mayo kiss make every bite exciting.
- Quick to Master: Once you get the rolling rhythm, this recipe feels like second nature.
- Perfect Anytime Meal: Great for weeknight dinners, lunch boxes, or casual weekend gatherings.
The Essentials: Ingredients That Do the Work
Choosing the right ingredients for your Homemade California Crunch Roll Sushi Recipe sets the stage for success. Freshness is key, especially for the avocado and crab. The rice needs to be sticky but fluffy to hold everything together smoothly.
- Short-grain sushi rice: This variety gives you that characteristic stickiness and glossy finish.
- Imitation or real crab meat: Look for moist, flaky pieces that will gently layer without overpowering.
- Ripe avocado: Opt for one that gives a little under gentle pressure—this means creamy perfection.
- Roasted nori sheets: Quality nori ensures that deep umami sea flavor and crisp texture.
- Panko breadcrumbs or fried onions: These add the golden crunch that makes this roll special.
Quick Note: Precise amounts and timing live in the recipe card at the end.
Step-by-Step: Bringing Homemade California Crunch Roll Sushi Recipe to Life
Step 1 — Gather, Chop, and Prep
Start by collecting your tools: a bamboo sushi rolling mat wrapped in plastic, a sharp knife, a bowl of water with a touch of rice vinegar to keep your hands and tools from sticking. Rinse your sushi rice until the water runs clear—that’s a little trick I learned to avoid gummy results. Once cooked, gently fold in the warmed vinegar mixture so every grain glistens. Prep your avocado slices and cucumber strips; their fresh, juicy crunch will brighten the roll incredibly.
Step 2 — Heat, Stir, and Build Flavor
Here’s where the magic happens: while there’s no heavy cooking, stirring sweet and tangy seasoning into warm rice fills your kitchen with that distinctive sushi aroma. This aroma tells you the rice is ready to bring its glue-like magic. After spreading the rice on the nori, layering the crab, avocado, and cucumber feels like painting a delicious little canvas. When you roll, listen for the soft rustle of the nori and feel the gentle resistance—that’s your cue that the roll is coming together beautifully.
Step 3 — Finish and Taste-Test
After rolling the sushi into a cylinder, brush the top with spicy mayo or eel sauce—the shining glaze that adds a hint of heat or sweet umami. Then sprinkle your crunchy topping, pressing it lightly with the mat so it sticks perfectly. I always wait a minute before slicing with a very sharp, damp knife; this prevents squishing and keeps that golden crunch intact. The first bite is always my favorite—the contrast of textures and layered flavors is proof you nailed the Homemade California Crunch Roll Sushi Recipe perfectly.
Pro Moves to Elevate It
I’ve found a few little tweaks that really push this recipe up a notch, whether you’re a sushi veteran or a curious beginner. My best advice is to respect the rice’s temperature and moisture and to trust your hands when rolling—the roll tells you when it’s just right.
- Heat Wisdom: Let your seasoned rice cool to near room temp before spreading to avoid sogginess.
- Timing Trick: Add crunchy topping just before slicing to keep it crisp and inviting.
- Make-Ahead Strategy: Pre-chop fillings and make the sushi rice an hour ahead to save time.
- Common Slip-Up: Don’t overfill your roll; it makes rolling tricky and affects the bite.
Switch It Up: Creative Variations
Once you’ve mastered this Homemade California Crunch Roll Sushi Recipe, try mixing things up for fun—add cream cheese strips for a silky twist or thin jalapeño slices if you’re craving a little zip. A drizzle of teriyaki glaze can add a sweet-savory angle that dances on your tongue. These playful spins keep the classic fresh and exciting every time you make it.
When You’re Feeling Bold
Feel like pushing the envelope? Swap crab for spicy tuna or fresh salmon for a richer taste. Use tempura flakes instead of panko for an even crunchier surprise. Or, scatter some finely diced mango inside for a bright, tropical twist that bursts with every bite. It’s your roll—make it truly yours!
Storage & Reheating Tips
Leftover Homemade California Crunch Roll Sushi Recipe tastes best fresh, but if you need to store it, wrap tightly in plastic and keep it in the fridge for up to 24 hours. For longer storage, freezing isn’t ideal since the texture of avocado and crab can suffer. To reheat, enjoy cold or bring to room temperature — reheating rice rolls often makes them lose their lovely texture. If you want warm sushi vibes, try a quick pan-sear of sliced rolls, but expect a different experience.
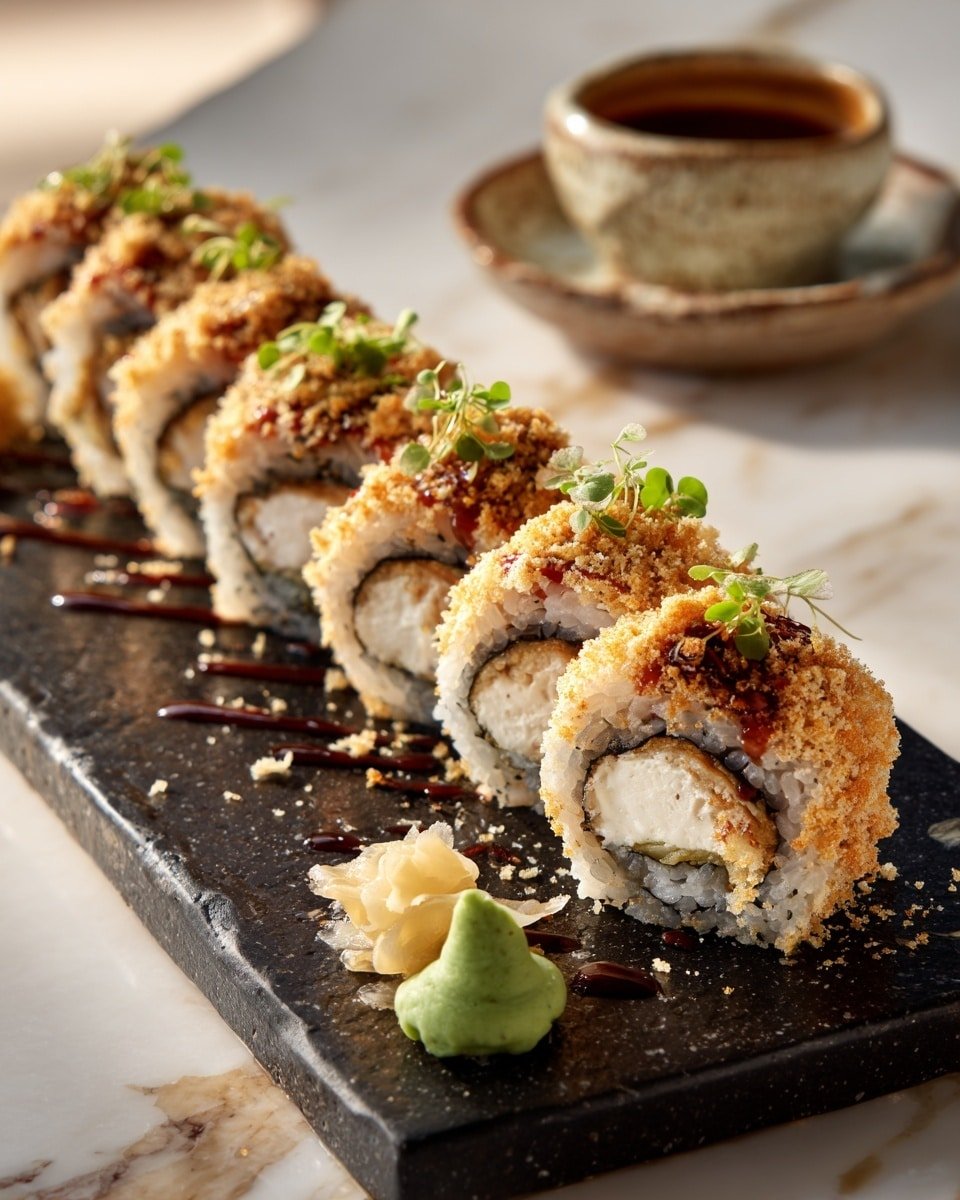
Serving Inspiration
This roll shines on its own but pairs wonderfully with a few simple sides. I like serving it alongside pickled ginger and crisp seaweed salad for contrast. A small bowl of soy sauce waving in the background invites dipping, while a light sparkling sake or cold green tea cuts through the richness perfectly. For casual nights, present these on a wooden board with chopsticks. For fancy touch-ups, add edible flowers or a drizzle of extra eel sauce around the plate—it’s a sure crowd-pleaser.
Frequently Asked Questions
Absolutely! Real crab adds a fresh, delicate sweetness that’s wonderful in this roll, just make sure it’s cooked and shredded for easy layering.
Rinse the rice well before cooking and allow it to steam properly. Mix in the vinegar seasoning while it's warm but not hot, then cool it to room temperature before assembling your rolls.
You can prepare the rice and fillings in advance, but it's best to assemble and add the crunchy topping shortly before serving to maintain freshness.
You can use a clean kitchen towel wrapped in plastic wrap as a substitute, but a bamboo mat gives more control and a firmer compact roll.
Notes & Handy Tools
For this Homemade California Crunch Roll Sushi Recipe, a bamboo sushi mat is your best friend—it gives you the perfect shape and pressure balance. A good quality sharp knife, ideally serrated or sushi-specific, helps with clean slicing. Rice cooker makes the rice step foolproof, but stovetop works just fine. Lastly, don’t forget a small bowl of vinegar water for dipping your fingers and knife to keep things tidy and sticky-free.
PrintFull Recipe
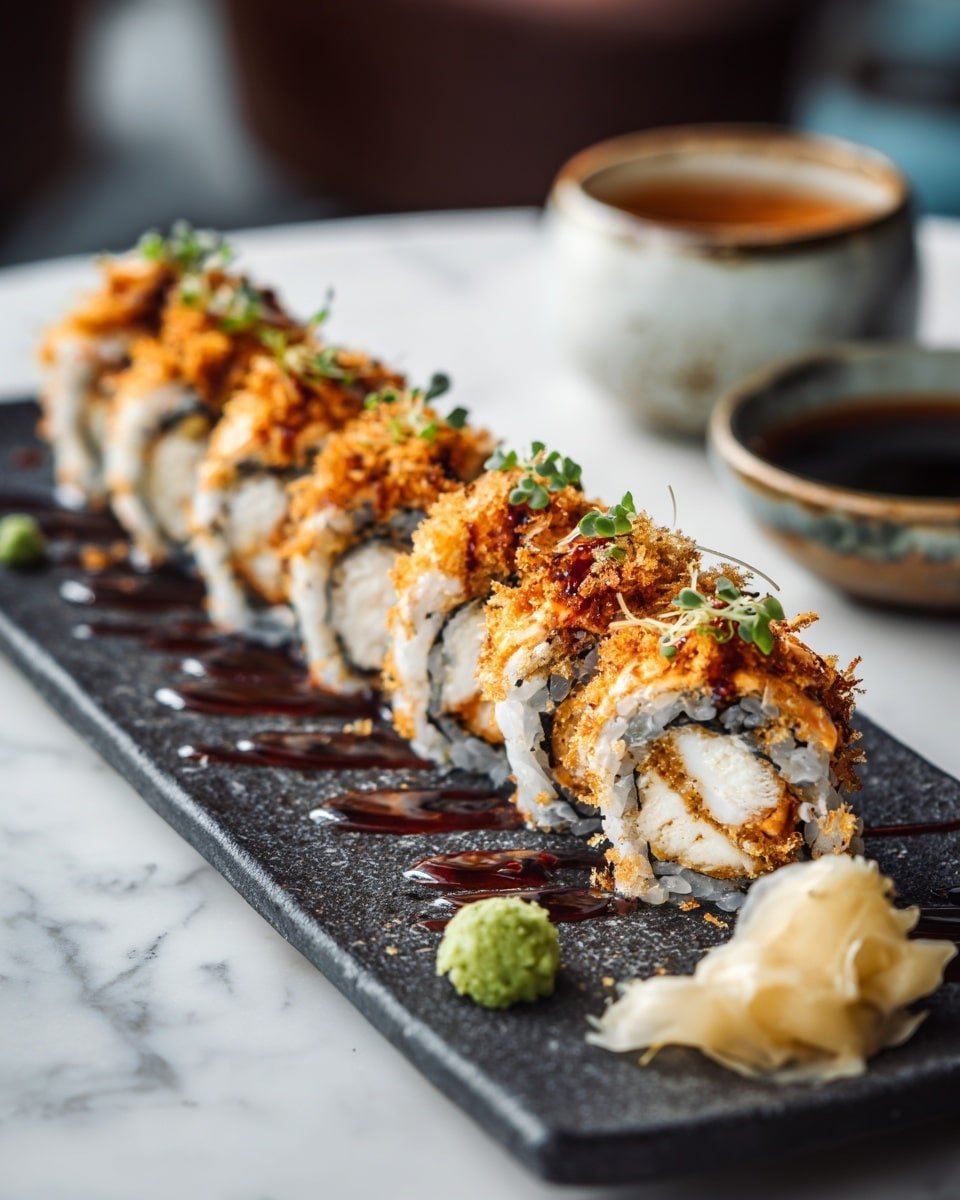
Homemade California Crunch Roll Sushi Recipe

This Homemade California Crunch Roll Sushi combines creamy avocado, savory crab, and crunchy panko to create a satisfying and flavorful sushi roll. With a perfectly seasoned sushi rice base and optional spicy and tangy sauces, this recipe is a delicious way to enjoy sushi at home.
- Prep Time: 30 minutes
- Cook Time: 20 minutes
- Total Time: 50 minutes
- Yield: 4 rolls
- Category: Main Course
- Method: Stovetop
- Cuisine: Japanese
Ingredients
For the Sushi Rice
- 1 cup short-grain white rice
- 1¼ cups water
- 2 tablespoon rice vinegar
- 1 tablespoon sugar
- ½ teaspoon salt
For the Roll
- 4 roasted nori sheets (sushi-grade)
- 1 cup imitation crab meat (or real crab meat)
- 1 ripe avocado, sliced
- 1 small cucumber, cut into thin strips
- 2 tablespoon spicy mayo (mayo mixed with sriracha)
- 1 tablespoon eel sauce
Crunchy Topping
- ½ cup toasted panko breadcrumbs or French fried onions
Optional Add-ins
- Cream cheese strips
- Thinly sliced jalapeño
- Teriyaki glaze
Instructions
- Prepare the Rice: Rinse the short-grain rice under cold water until the water runs clear to remove excess starch. Cook the rice with 1¼ cups of water either in a rice cooker or on the stovetop until tender. Meanwhile, combine rice vinegar, sugar, and salt in a small saucepan and warm gently until sugar dissolves. Fold the vinegar mixture into the warm cooked rice gently. Allow the rice to cool to room temperature.
- Set Up Your Rolling Station: Wrap a bamboo sushi mat tightly in plastic wrap to prevent sticking. Prepare a bowl of water mixed with a splash of rice vinegar nearby for moistening your hands and knife during rolling and slicing to keep rice from sticking.
- Assemble the Roll: Place one nori sheet shiny side down on the bamboo mat. Evenly spread an even layer of cooled sushi rice over the nori, leaving a ½-inch border at the top edge. Flip the nori over so the rice is facing down. Lay a line of crab meat, sliced avocado, cucumber strips, and any optional add-ins such as cream cheese or jalapeño across the center of the nori.
- Roll the Sushi: Using your thumbs, lift the edge of the bamboo mat closest to you, holding the filling in place with your fingers. Roll the mat over the filling tightly to form a cylinder, sealing the roll by moistening the uncovered edge of the nori. Press gently with the mat to shape the roll firmly.
- Add the Crunch: Brush the top of the roll evenly with spicy mayo or eel sauce. Sprinkle toasted panko breadcrumbs or French fried onions generously on top, then lightly press with the bamboo mat to secure the crunchy topping.
- Slice and Serve: Using a sharp knife dipped in the vinegar-water bowl, slice the roll into 8 equal pieces. Drizzle additional spicy mayo or eel sauce over the slices if desired. Serve with soy sauce, pickled ginger, and wasabi on the side.
Notes
- Use a sharp, damp knife for clean sushi slices to prevent rice from sticking.
- Substitute imitation crab with real crab meat for a more authentic flavor.
- Adjust the spiciness by adding more or less sriracha to the mayo.
- For a gluten-free version, ensure all sauces and panko are gluten-free.
- Keep the bamboo mat wrapped in plastic to avoid cleaning sticky rice off the mat.
- Optional add-ins such as cream cheese and jalapeño can be adjusted or omitted based on preference.


Leave a Reply